Standard Pull Out Shelves
$119.95
Custom made cannot be returned
100lb weight capacity
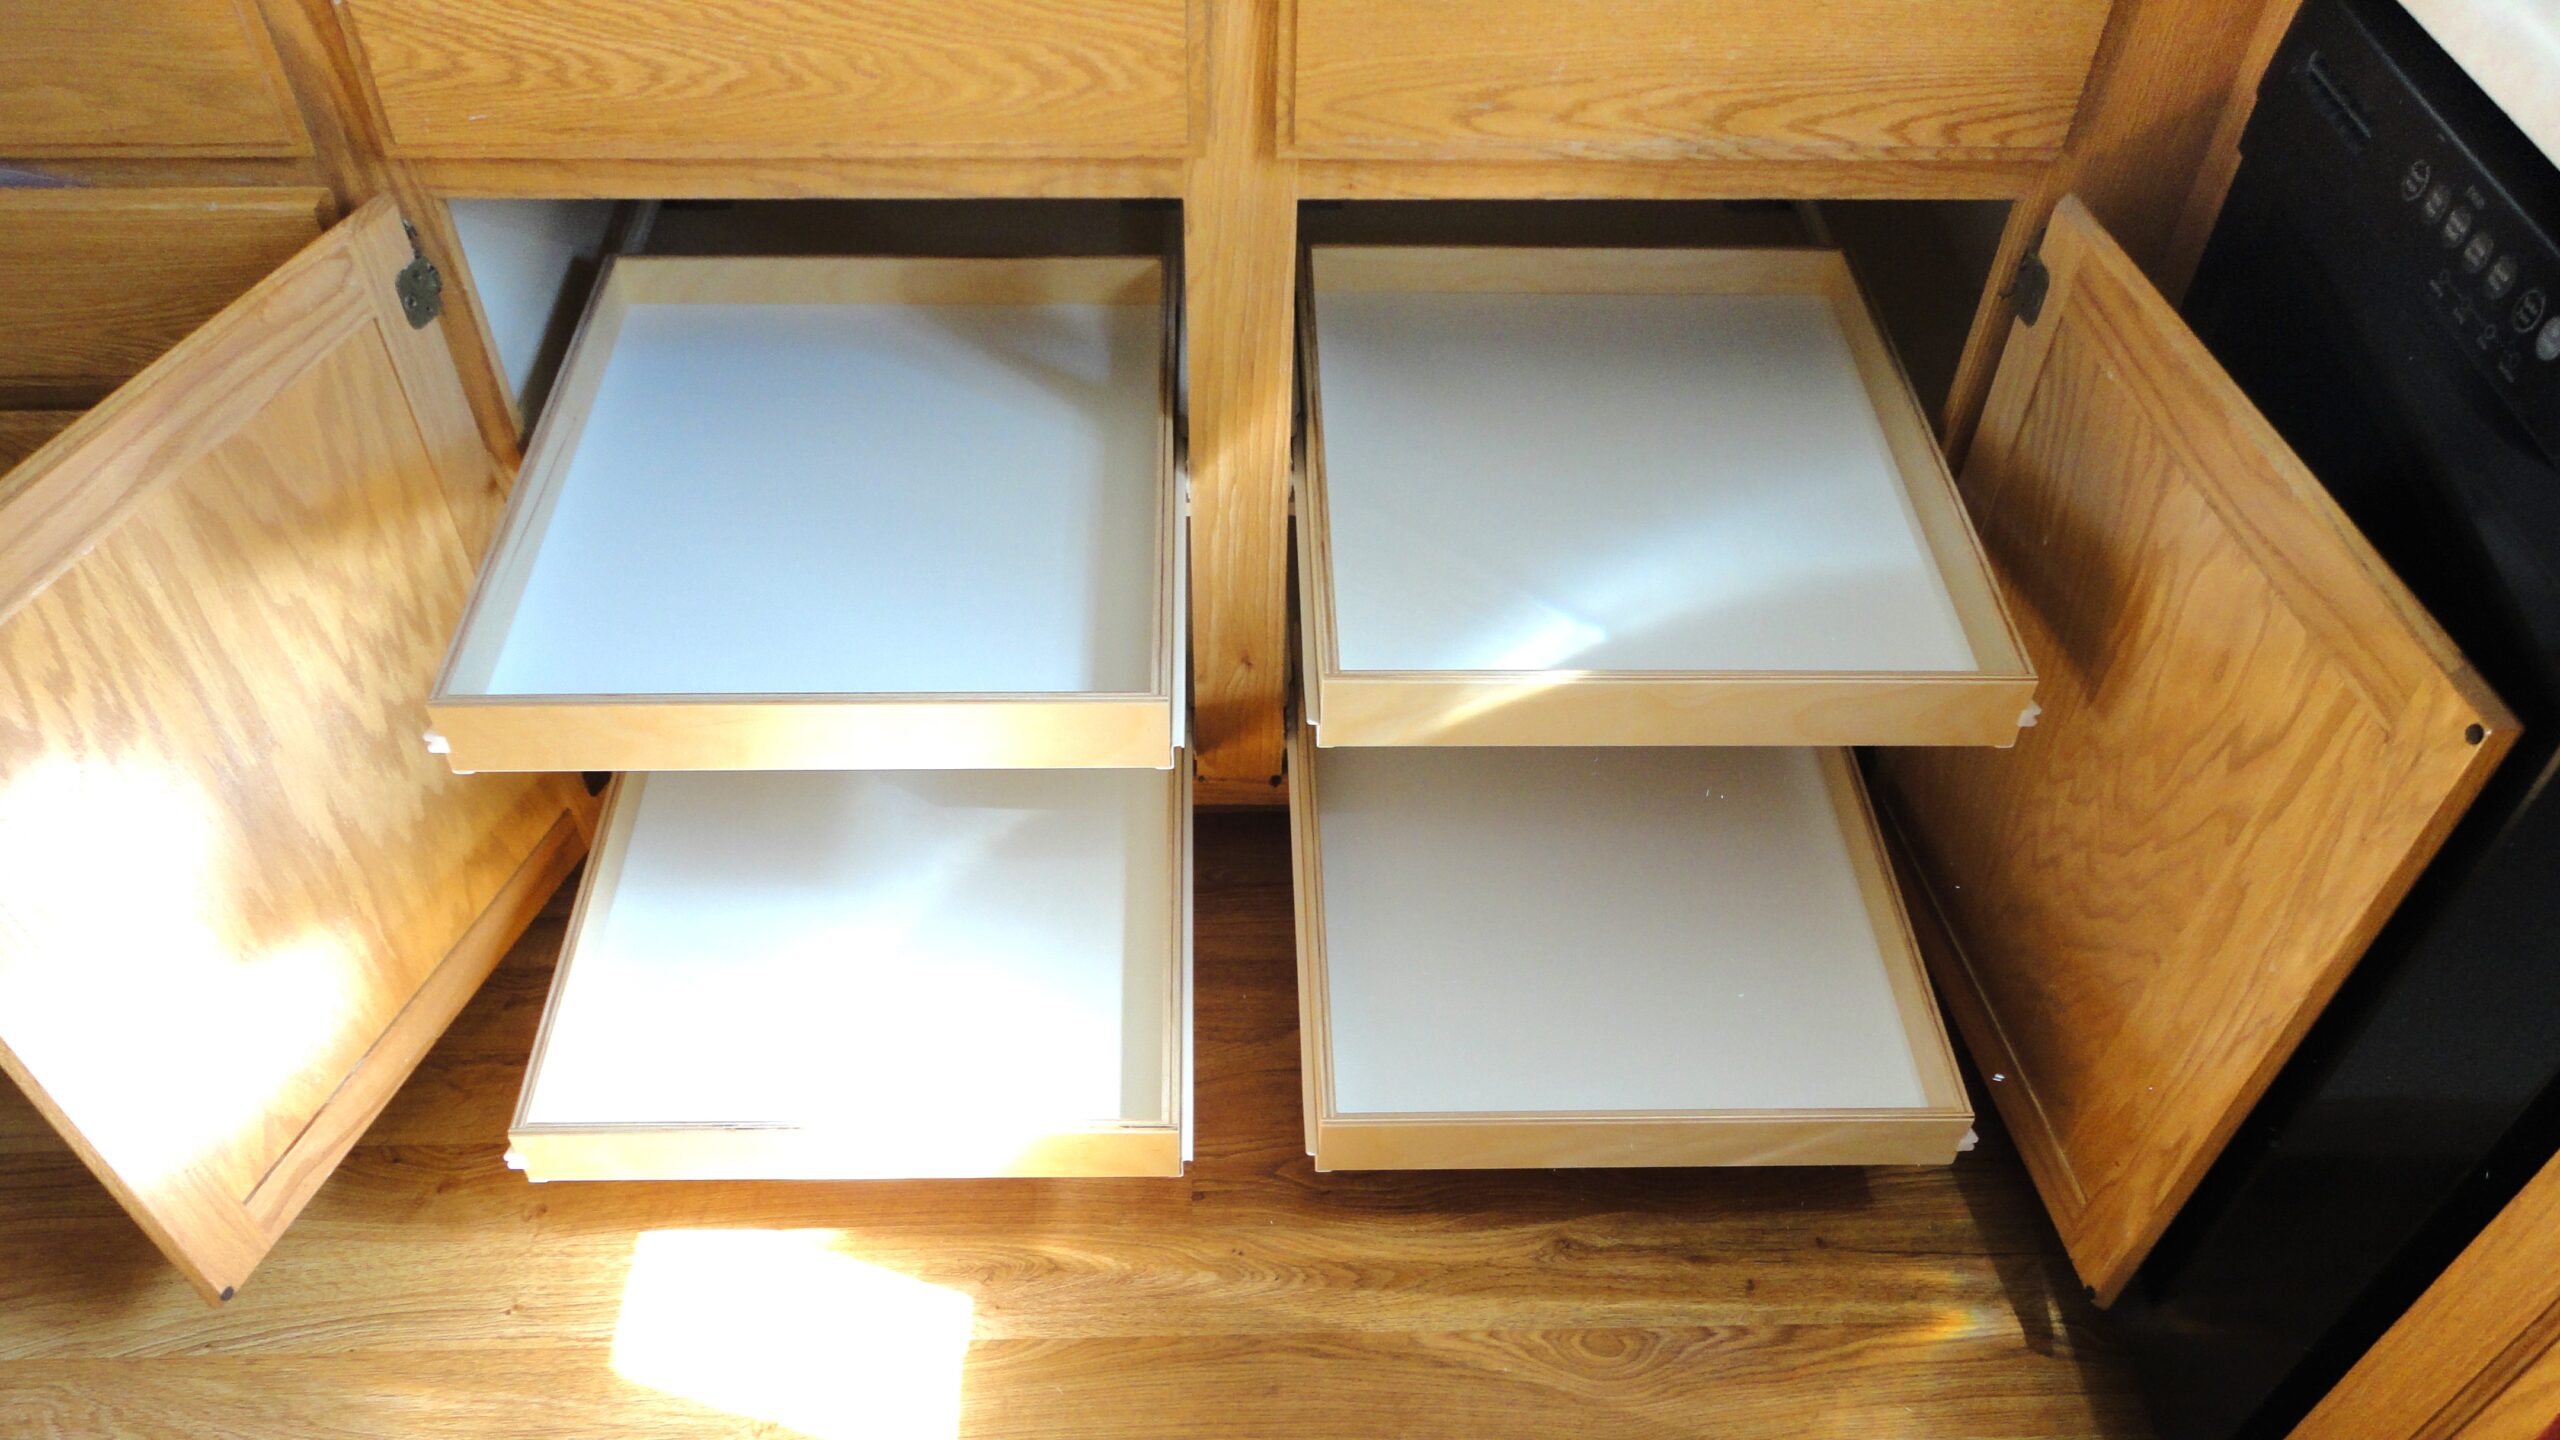
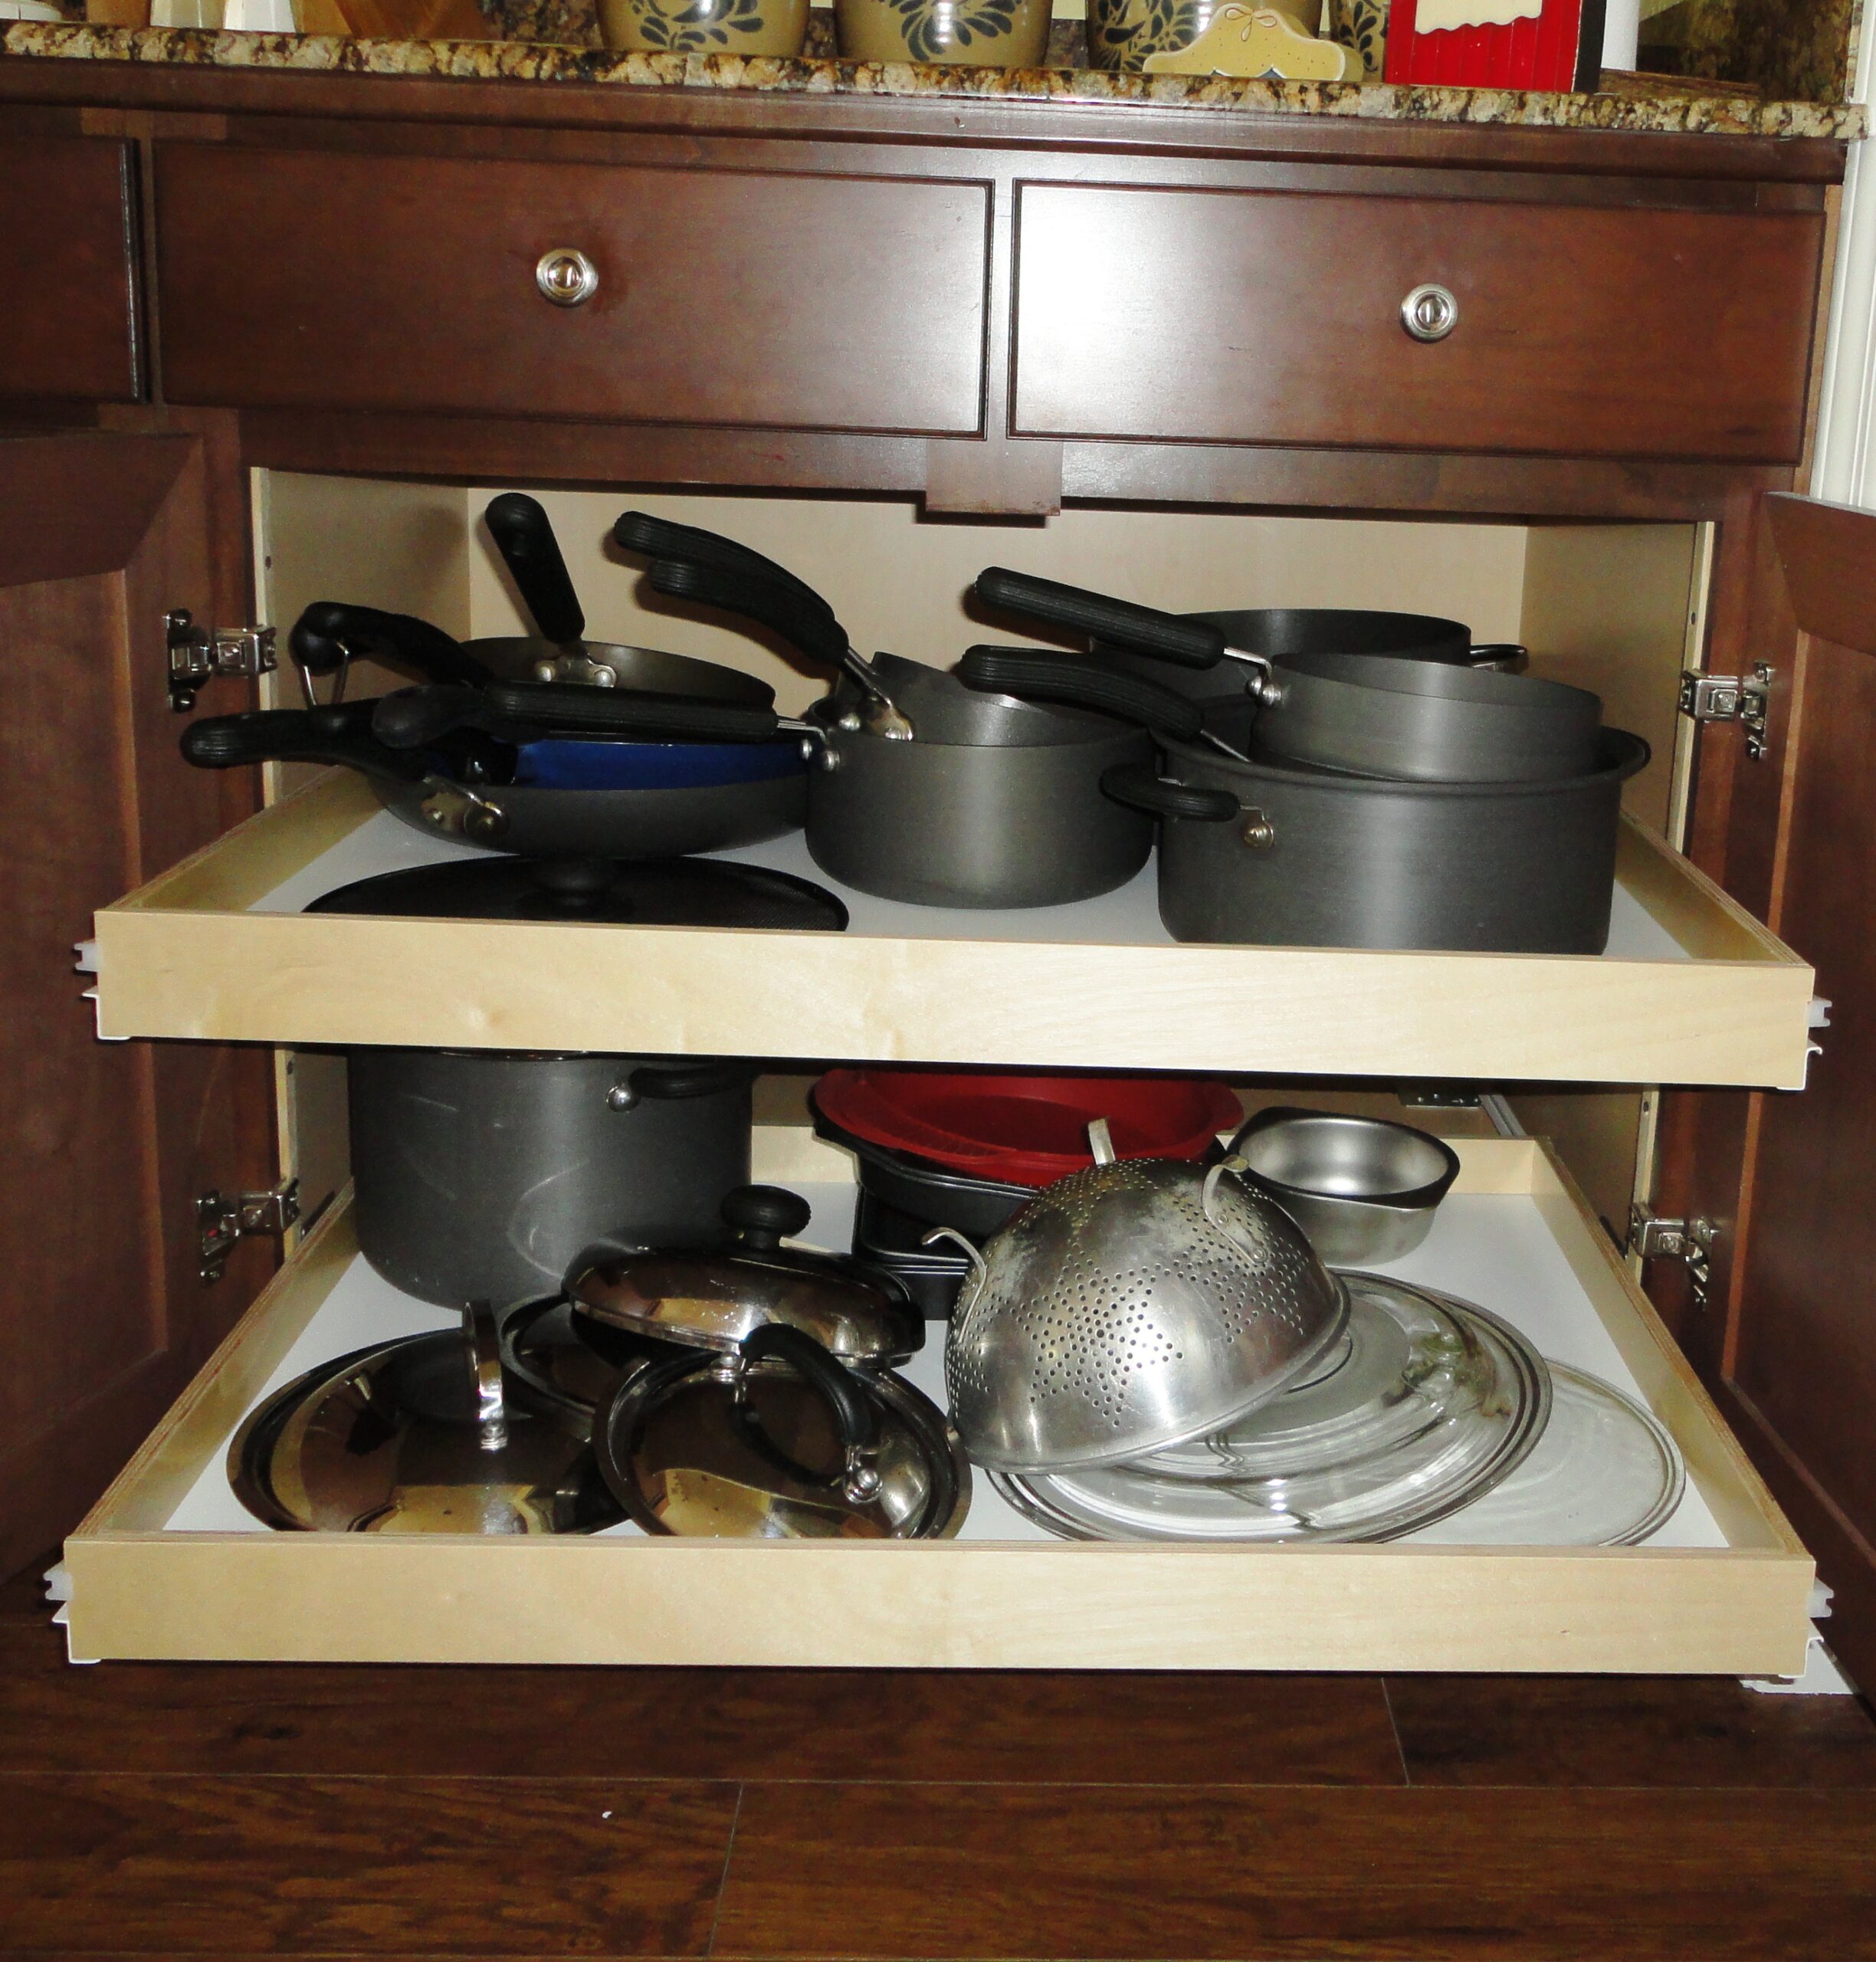
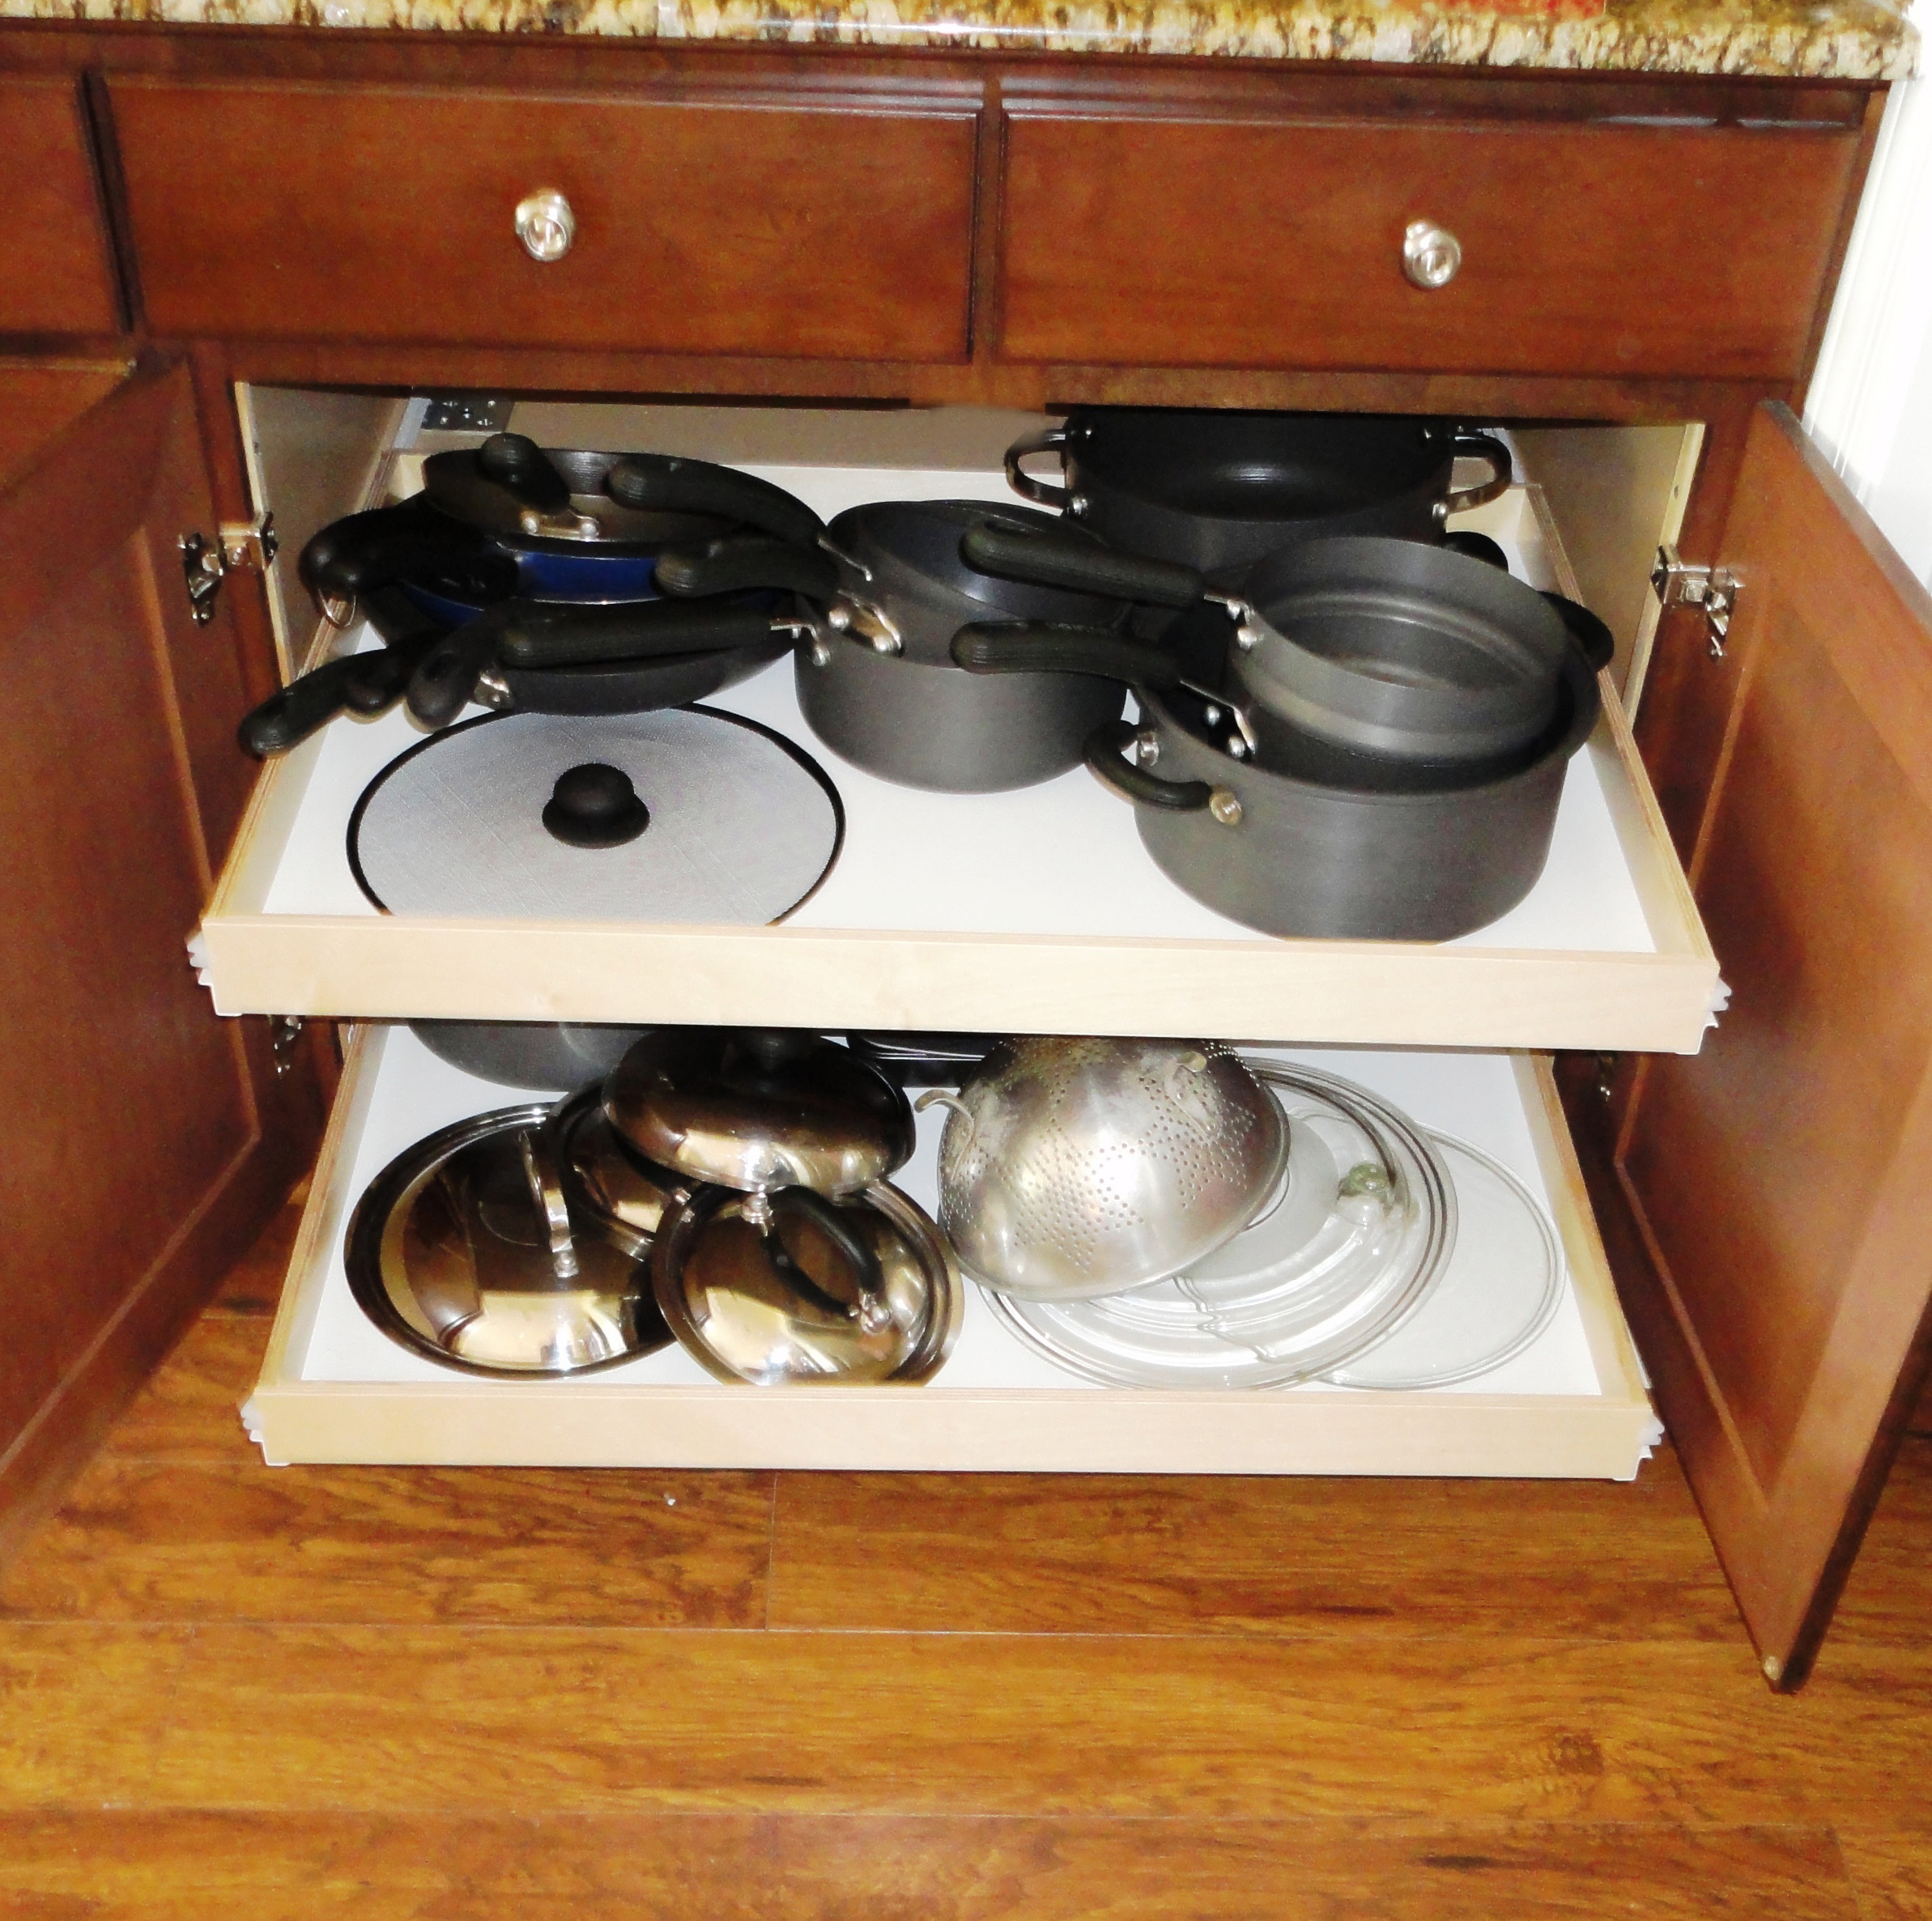
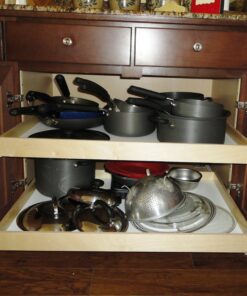
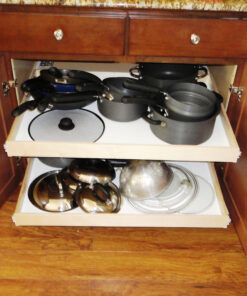
Standard pull out shelves start at 3″ tall and made in various width heights and depths. Constructed of 9ply 1/2″ baltic birch (cabinet makers choice) with a clearcoat uv finish. Shelves utilize drawer slides mounted on the side and can be sidewall mounted in European style faceless cabinets or with the help of L brackets can be mounted on the base or half shelf in face frame cabinets.
Only logged in customers who have purchased this product may leave a review.
Measuring Guide
Pull Out Shelves Measuring and Mounting Style Guide
Quick link to our: INSTALLATION GUIDE
3 EASY STEPS TO MEASURING FOR SLIDE OUT SHELVES
1. Determine which type of cabinet you have ( framed or faceless)
2. Determine which clear opening applies to the area you want to install the shelf in (see a, b & c)
3. Determine which mounting method you will use to mount your shelf
Take time to read other information on this page that explains other details about drawer slides and other product information. Prior to ordering, read the installation guide available by clicking here for “installing pull out shelves”
If you have questions concerning how to properly measure your cabinet,, please contact or call us at: 866-374-3583 prior to ordering. We do not employ a phone call center but can answer 1 or 2 quick questions
1. THERE ARE TWO BASIC TYPES OF CABINETS,
FRAMED AND FRAME-LESS
Framed Cabinets
 Framed cabinets have a face frame usually made of a hardwood. When the doors of the cabinet are closed you can still see the cabinet face frames around the doors and drawer fronts and usually you can see the hinges. The interior of the cabinet is wider on both sides than the cabinet opening. The face frame usually extends into the opening about 3/4″ or more. Framed cabinets are the traditional style of cabinets in the United States and they are found in more homes than the newer Euro style. Some newer cabinets are hybrids, meaning they have a face frame but hidden hinges like the Euro style
 “Euro” or Frame-less style”
Frameless cabinets do not have a face frame. The front edge of the cabinet sidewall is the front of the cabinet. When the doors and drawers are closed they cover almost the entire cabinet. The hinges are totally concealed when the doors are closed. Euro style hinges are larger than the traditional framed cabinet hinge and tend to interfere more with the cabinet opening. Frame less cabinets often use a 32mm hole system for the hinge mounting and shelf support. The interior width is the same as the opening minus the door and hinge interference. Many newer homes have frame less style cabinets. Frame less cabinets always have “side mount” mounting style. See the video on how to measure for pull out shelves for faceless also see the instructions below

2. Clear opening (the area required for the slide out shelf to slide through) is measured typically in three different ways, depending on your cabinet style and hinge placement.
Opening (a) is typical for a middle cabinet installation and will not have door hinge interference. Measure this distance from frame to frame on a face frame cabinet, and from inside wall to inside wall on frame less cabinets (open door and check if any part of the door edge protrudes into the opening, subtract this amount if it does) Typical mounting style for frame-less cabinets in this area is side mount, see mounting definitions
Opening (b) is a base mount and because of the hinge protruding into the opening, the clear opening is measured from the edge of the hinge to the other side
Opening ( c ) is a base mount and has two hinges protruding into the opening, in this case the measurement is from hinge to opposite hinge.
Clear Opening Fraction: This is the part of a whole, for example: if your clear opening is 8 3/8 wide then the clear opening fraction would be 3/8
Variance: if the hinges do not protrude more than 1/2″ and are 2 3/4″ or more above the cabinet floor, then they do not become a factor and the measurement would be clear opening (a)
All pull out shelves are custom made in 1/8″widths, if you are in doubt always round down
Our Shelves are available with standard drawer slides which are 3/4 extension slides or Full Extension Ball Bearing slides with standard extension or soft close feature there are several mounting methods and hardware that make installing easier that are optional and explained below
Measuring Length: Measurement should be from cabinet back wall to cabinet front minus 1″, Typical base cabinets will be 23-23 1/2″ deep, in this case, we recommend ordering a 22″long shelf
3. Mounting Definitions
SIDE MOUNT: With this style the drawer slides are mounted directly to the cabinet wall in frame-less cabinets. In face frame cabinets either spacers or other methods to build out the cabinets inner walls to match the cabinet reveal on framed cabinets ( cabinet reveal is the distance from the inside cabinet wall to the edge of the clear opening. This is typically 3/4″-1″)
Base Mount :Drawer slides are mounted directly to either the base of the cabinet or to a full depth shelf with the use of Zinc L brackets.
Half Shelf Mount: Drawer slides are mounted onto the cabinets half shelf and into the face frame in the front.
Rear Socket Mount: Drawer slides are mounted to the back of the cabinet and to the face frame in front. When this option is chosen at time of ordering, we will attach the drawer slides to the rear sockets and will arrive ready to install with screws provided. Rear socket have a 2″adjustment allowance, so a 22″deep shelf with rear sockets can be mounted inside of a cabinet up to 24″deep
Drawer Slide Sizes: Drawer slides are in even increments so if a 19″long shelf is ordered then it will come with a 18″ drawer slide, 21 with a 20″slide etc.
3/4 Extension Slides, extend the drawer 3/4 out ( a 22″ slide will extend the drawer 16″)
Full Extension Slides extend the drawer fully out the length of the slide.
Full Extension with Soft Close(available in 14-22″ lengths) is a full extension slide with a gas cylinder that softly closes the drawer itself in the last 1″of inward travel. These slides have to be installed properly or will not work as intended. If the slide is too tight it will not retract properly. Nice slide, but for confident installers
Rear Sockets: 3/4 extension rear sockets are a plastic nylon and subject to stress fractures, Full extension rear sockets are a zinc alloy and not subject to stress fractures
Drawers are made 1″ less than clear opening size to accommodate the drawer slides that according to drawer slide manufacturer specs must have a 1/2″ allowance on either side. Do not take the allowance into consideration as we will at time of production.
We find the largest mistake made by customers is in ordering the correct clear opening as some customers think for example that if the opening is 15″ wide that they can order 16″ clear opening to get maximum benefit. This does not work as the drawer slide has to come through the clear opening. Please do not attempt to cheat the system. If you have any questions we have a toll free number 866-374.3583 or a contact page to get your questions answered.
Note: If you are working with a faceless cabinet or any similar cabinet and are using base mount brackets, reduce your clear opening by 1/2″ to accommodate the base mount hardware. Faceless cabinets are typically side mount so we would not know to reduce for the hardware in this situation
FRAMED CABINETS
 Hinges mounted on door and face frame
 Hinges mounted on door and frame edge
“EURO” OR FRAMELESS STYLE”
 A Typical Frame less Cabinet- Notice The Hinges Are Attached Directly To The Cabinet Inside Wall Click On Picture To Enlarge
FULL SHELF (FRAMED CABINET)

FULL SHELF OR BASE MOUNTING IS THE EASIEST METHOD OF INSTALLING SLIDE OUT SHELVES. . THESE L BRACKETS ALLOW YOU TO ATTACH THE SLIDE OUT SHELF HARDWARE DIRECTLY TO THE CABINET BASE FOR THE BOTTOM SHELF OR ON TO AN EXISTING FULL DEPTH SHELF. NOT FOR FACELESS CABINETS.THE FULL SHELF INSTALLATION IS NOT ONLY THE EASIEST WAY TO INSTALL PULL OUT SHELVES, IT IS ALSO ONE OF THE STRONGEST INSTALLATIONS.
HALF SHELF (FRAMED CABINET)

MANY BASE KITCHEN AND BATHROOM CABINETS HAVE A SHORT “HALF” SHELF FOR THE UPPER SHELF. THIS SHELF IS USUALLY ABOUT 10″ TO 12″ DEEP. YOU CAN INSTALL A FULL DEPTH SLIDE OUT SHELF WHERE YOUR HALF SHELF IS. THIS L BRACKET CAN BE SCREWED TO THE EXISTING HALF SHELF. THE FRONT OF THE GLIDES CAN BE ATTACHED TO THE CABINET FACE FRAME.
REAR SOCKETS (FRAMED CABINETS


REAR SOCKETS ARE NYLON OR (ZINC ON FULL EXTENSION BRACKETS) WHICH THE DRAWER GLIDE SLIPS INTO FOR ATTACHING THE GLIDE TO THE CABINET BACK .THE FRONT OF THE GLIDES CAN BE ATTACHED TO THE CABINET FACE FRAME, THEY CAN BE INSTALLED AS DESCRIBED IN OUR INSTALLATION GUIDE VIDEO OR THEY CAN BE MOUNTED USING EUROSPACERS. REAR SOCKETS WILL NOT WORK WITH SHELVES OVER 22″ DEEP SO A 24″ DEEP CABINET IS THE MAXIMUM AS THE REAR SOCKET ALLOWS FOR 2″ ADJUSTMENT
SIDE MOUNT (FRAMED OR FRAME LESS CABINETS)
AS THE NAME IMPLIES SIDE MOUNTING USES YOUR CABINET SIDEWALLS TO MOUNT YOUR SLIDE OUT SHELVES. SIDE MOUNTING USUALLY REQUIRES MORE WORK THAN THE FULL SHELF INSTALLATION BUT IT IS THE MOST SPACE EFFICIENT. IF YOUR CABINET HAS A LARGE DIFFERENCE BETWEEN THE OPENING SIZE AND THE INSIDE DIMENSION SIDE MOUNTING MAY NOT BE THE RIGHT CHOICE. AS THE DISTANCE FROM THE SIDEWALL INCREASES SO DOES THE LEVERAGE ON THE MOUNTING SCREWS. MAKE SURE YOU CHECK YOUR SIDEWALL THICKNESS BEFORE PLACING ANY SCREWS. SIDE MOUNTING CAN BE DONE WITH SPACERS OR YOU CAN USE WOOD STRIPS TO BUILD UP THE SPACE AS NEEDED. THE STANDARD SPACERS ARE AVAILABLE IN 1/8″, 3/8″ AND 1/2″.
THERE ARE ALSO EURO SPACERS THAT CAN BE USED ON FRAMED OR FRAME LESS CABINETS.
Installation Guide
Installation guide For Standard Shelves Dovetail Installation guide is on Product Page
(For Frame less Cabinet Installation Instructions-Scroll Down)
When installing pull out sliding shelves with full extension slides it will be necessary to separate the drawer from the full extension slide cabinet half at some stage. This is accomplished by sliding the cabinet component backwards until the release lever is exposed ( lever in the middle of the slide) push up or down on the lever to separate the slide

If you have questions about installing your shelves call us at 866-374-3583 We do not employ a phone call center but can answer 1 or 2 quick questions
Installing Your Pull Out Shelves
Use the pull out shelf
The #1 tip on installing our pull out shelving is to let the roll out shelf be your guide for adjusting the drawer glides. There are points in every method of installation that will be easiest to accomplish when you use the roll out shelf as your guide. The standard drawer glides that we use have a control side and a free side. The right side glides are the control side, the track that the wheel rolls in is a captive side. The metal is bent around the wheel and the wheel will only track in that groove. The left side glide is the free side that allows for adjustment of the assembly. It is very important to pay attention to the left side glide for any problems with glide alignment with your slide out shelves will show up on the left side.
Existing Shelf
If you are mounting to an existing shelf you should check to make sure it is held securely in place. When the slide out shelf is extended, all of the weight will be on the front of the existing shelf, and if the shelf is not supported with strong clips, there is a possibility the existing shelf could beak down. It is also important to make sure the back of your shelf is secured down or else it will tip when the sliding shelf is extended. We usually secure the back of the shelf by installing a screw on each side of the shelf either to the back wall or the back of the side walls. We leave the head of the screw sticking out 1/4″ or more just on top of the adjustable shelf so that the extended head keeps the shelf from tipping. Make sure you do not put the screw through an exposed wall or cabinet back. Or you can secure the adjustable shelf in the back with a 1/4 piece of plywood cut 1″ wide.
Base Mount Installation
The simplest installation method is when mounting the slide out shelf to the cabinet base or an existing full depth shelf. If you order your slide out shelf with the Base Mount (BM) the drawer slides will come with two L brackets for each side.
See the corresponding video for attaching the L Brackets

Set the glides in place in your cabinet with the wheels facing towards the front, the glides are marked CR and CL

Then set your slide out shelf with the front tipped up slightly in place by lifting the wheels at the rear of the shelf over the wheels on the front of the cabinet glides. Slide the shelf slowly all the way inside the cabinet. If the left side glide comes out of place you can slip it back into position without removing the shelf. Align the shelf in the cabinet and make sure the front of the CL and CR glides are lined up with the front of the existing or base shelf. Put a slight downward pressure on the shelf and extend it far enough to expose the rear brackets.

Install a screw in the right to left slotted hole closest to the slide member and tighten. You can now close the shelf again and re-check your alignment. Repeat the process for the other side and then again for the front of the glides.

If the glides move while installing you can simply close the shelf and re-align them. When you have one screw in each bracket you can open and close the shelf a few times and check the adjustment looking at the left side glide and paying attention to the front alignment. There should be about 1/16″ to 1/8″ of play in the glides. If the glide is too tight or too loose simply loosen the screw in one of the brackets (front or rear whichever needs adjustment) and move the bracket the correct direction and tighten. Remember to pay careful attention to the left side glide if the gap is too large in the rear the shelf will roll great but as soon as you add weight you will get a bump when you slide it out and the shelf may come completely off the tracks when pushed back in. If the shelf is tight, you can tell which rear bracket needs to be moved outward by tapping on the front of the slide out shelf, which either side has movement, the opposite rear bracket is the one to move outward.
After you have the shelf adjusted correctly you need to add a second screw in each bracket using the center hole to lock the slide in place.
Note: When Base Mount is ordered you will receive two 2 screws per bracket, even though the brackets have 5 holes, only two are required.

Video: How To Install Pull Out Drawers With Standard Drawer Slides Into The Bottom Of The Cabinet
Video:Pull Out Shelf With Full Extension Base Mount Installation Video
Half Shelf
The second method of installing slide out shelves is mounting to a half depth shelf in the back of the cabinet with the optional 2 L brackets for 1/2 shelf installation . You will need a small level, with a magnetic strip on one side. Check the existing shelf to make sure it is secure and can not lift up,putting a screw on top of the half shelf into the back of the cabinet will prevent the shelf from tipping when the slide out shelf is installed. The glides for the half shelf installation will have one metal “L” shaped bracket on each glide mounted toward the rear.

Set the rear bracket on the existing shelf and place the front edge of the glide against the cabinet face frame, about midway. Place your level on the glide and level it. When you have the glide level, mark the location of the front hole in the glide. Repeat this step for the glide on the other side face frame. It is best to drill a small pilot hole to prevent splitting, before screwing the glide in place. After you have the front of the glides attached you can set the shelf in place by placing the wheels on the rear of the shelf glides over the wheels on the front of the cabinet glides. Insert the shelf all the way into the cabinet and align the shelf to be square with the cabinet front. If there is too much space between the cabinet face frames you will need to insert spacers or washers to build out.


You can order spacers from us in various sizes. Check the alignment of the left side glide and when it is properly aligned press down slightly on the shelf and extend it far enough to see the rear bracket. Place a screw in the left to right slotted hole closest to the glide and tighten moderately. Reinsert the shelf and check glide alignment. When alignment is correct repeat the process of extending the shelf and insert a screw in the other side’s bracket. Again insert the shelf and adjust as needed. When everything is aligned extend the shelf again and place a screw in the center hole of each bracket to lock it in place.
Rear Sockets
Note:The following shows installing in a vanity cabinet, the installation works in most face frame cabinets
Cabinet prior to installation:

Rear mount sockets are for mounting shelves where there is no existing shelf to mount to. The first step is to determine the height that you want the slide out shelf. Make a mark on the back cabinet wall for the location where you want the bottom of the shelf ( notice that we have set ours 4″ under the water lines as we are installing 3 1/2″ tall pull out shelves ). Insert the cabinet glides partially into the rear sockets (you must have specified rear extension mounting when ordering) Rear sockets are not advised on shelves over 22 deep
We use a ledger board ( not included ) when installing pull out shelves in the middle of a cabinet. This ledger board gives the rear sockets additional support and eases installation . We use a 1/2″ thick board that is cut 1″ longer than our clear opening size. The rear ledger is installed using 3/4″ drywall screws.
Install the ledger board below the mark you made previously, level the board, and attach to the cabinet back wall

Place the drawer slide with the rear socket attached onto the ledger board. Align the front hole on the slide with the middle of the face frame. Level the slide and insert a screw into the face frame.
 Repeat for other slide
When both slides are attached to the front face frame, insert the pull out shelf slowly in and square the shelf. Make a mark in one of the adjustment holes on the rear sockets on either slide and remove the shelf.
Insert one screw into each rear sockets at the marks that you made.

Insert the pull out shelf again, this will square up the bottom of the slides so they do not bind the shelf.
Remove the shelf and insert an additional screw into each rear socket

Insert the pull out shelves and enjoy

Rear Socket Video
Side Mount
Another option for mounting slide out shelves in cabinets that do not have an existing shelf is side mounting. You can purchase spacers from our store to build up the space or you can attach a 1×4 board the full depth of the cabinet so you can mount to the cabinet side walls.
 Picture shows using 3/4″ plywood with a full extension slide, a standard 3/4 extension slide can be mounted the same way
It is best to use a piece of wood the same thickness as the space behind the face frame that runs from the bottom of the cabinet to above the height that you want the shelf installed. You may need to double up the wood to get the right size. You can glue and screw this wood in place to make a secure attachment. After the wood is installed you can install the glides at the proper heights and put the shelves in place. Due to the fact that cabinets are often out of square it may be necessary to use spacers or washers to take care of any wide spots.
Frameless Cabinets
Pull out Shelves installation in Frame less style cabinets are always side mounted using either a nailing strip along the inside walls or with spacers. Typically we will use 3/4 Euro Spacers (found in hardware section) to mount our pull out shelves inside of a frameless cabinet. The Euro Spacers will come with a euro screw that is designed to attach the slide to the spacer. In this illustration we are using 3/8″ face frame spacers to give more shelving area. This is explained in the measuring guide.
Whether you use the spacers are a nailing strip to side mount your roll out shelves. The installation methods are the same

Set the slides on the bottom of the cabinet and screw the front of the slide into the sidewalls. The front of the slides should be set approx 1/2″ back from the front edge.

Using a torpedo level on the top of the slide, level the slide and insert a screw into the back of the slide into the sidewall. Repeat for other side.

Install the shelf
Important note
Make sure to read all of the instructions on this page. These instructions are meant to be a guide only and they can not cover every possible installation. Slide out shelves are fairly easy to install for the average homeowner and can take as little as five minutes or less to install. It is important that you be able to determine the soundness of your installation. If you are not comfortable with your ability to determine the quality of your installation you should seek advice and possibly hire someone else to review the job or do the installation for you.
Watch Our Pull Out Spice Racks: Watch Our Helpful Video.

Reviews
There are no reviews yet.